Table of Contents
Imagine a quick dinner, but your chicken breast is dry and tough. It’s a common problem. Now, imagine crispy edges and juicy inside, ready in under 15 minutes. Thin sliced chicken breast can make this happen.
Thin sliced chicken breast isn’t just fast—it soaks up flavors well. It’s ¼ to ½ inch thick, perfect for marinades and cooks in 8 minutes at 425°F. Whether you pan-fry or bake, the right time and temp make it a weeknight winner.
Key Takeaways
- Thin sliced chicken breast cooks in 8–15 minutes depending on the method.
- Always check 165°F internal temp for safety.
- Proper thickness (¼–½ inch) ensures even cooking without drying out.
- Leftovers keep 5 days in the fridge or 3 months frozen.
- Cooking times vary by oven type and chicken size.
Understanding Thin Sliced Chicken Breast
Learning about thin chicken cuts is key. Chicken cutlets, scallopini, and fillets are all important in cooking. Let’s explore how to choose the right cut for your dish.
What Qualifies as Thin Sliced Chicken Breast
Thin chicken breast should be ¼ to ¾ inch thick. You can check this by slicing or pounding the breast. This ensures it cooks evenly and doesn’t get too dry. Most stores sell pre-sliced chicken fillets. But, pounding fresh breasts yourself only takes a few minutes.
Differences Between Cutlets, Scallopinis, and Fillets
- Chicken cutlets: Pounded slices are great for breading or pan-frying. They make a crispy coating.
- Chicken scallopini: These are very thin Italian-style cuts. They’re perfect for quick dishes like piccata.
- Chicken fillets: These are naturally thin and unprocessed. They’re ideal for quick marinades or grilling.
Benefits of Cooking with Thinly Sliced Chicken
Cooking thin cuts is faster and better. Here are some benefits:
- Speed: They cook in 2–15 minutes, unlike thick breasts which take longer.
- Flavor boost: Marins work faster on thin cuts, making them taste better.
- Consistency: They cook evenly, reducing dryness. Cooking to 165°F ensures they’re safe and not overcooked.
- Port control: Thin cuts are great for portion control. They offer 138 calories per serving with 17.8g of protein.
These cuts are versatile for any recipe, whether you’re grilling or baking. Choose cutlets for crunch, scallopini for delicate flavors, or fillets for simplicity.
Preparing Thin Chicken Breast for Cooking
Getting thinly sliced chicken right means even cooking and lots of flavor. Choose one of these three ways to get the right thickness:
- Slicing: Cut raw breasts into ½-inch thick slices with a sharp knife. Chill the meat first to make it easier to slice.
- Pounding: Wrap breasts in plastic wrap and pound to ¼-inch thickness with a meat mallet. This helps avoid overcooking some parts more than others.
- Pre-sliced options: Find pre-packaged “thin-cut chicken strips” in the deli section for quick use.
Before cooking, dry each piece with paper towels to help it brown better. Season with garlic powder, onion powder, and paprika (½ teaspoon per breast). Drizzle with ½ tbsp olive oil for a good coat. Remove excess fat to cook evenly.
“Always trim visible fat before slicing to ensure consistent texture,” advise culinary experts.
Here are some pro tips for perfect prep:
- Chill breasts in the fridge 30 minutes before slicing for easier handling.
- Use parchment paper between meat and mallet to prevent sticking.
- Marinate for 15+ minutes to enhance flavor absorption.
Proper prep takes just 10 minutes and sets the stage for flawless results. Get your thinly sliced chicken ready with these steps, then choose your cooking method next.
Safe Internal Temperature for Perfectly Cooked Chicken
It’s key to make sure poultry slices hit 165°F (74°C) for safety. This is what the USDA says to kill harmful bacteria like salmonella. But, be careful not to overcook thin slices, as they can get dry.
“All poultry must reach 165°F to be considered safe to eat.” – USDA Food Safety Guidelines
USDA Temperature Guidelines
Undercooked poultry leads to 1.35 million salmonella cases each year, says the USDA. Even thin slices need to reach 165°F. While pasteurization works at lower temps, the USDA requires this minimum for all cuts.
Carryover cooking helps with thin pieces, but always check with a thermometer. Never serve until you’re sure it’s safe.
Using a Meat Thermometer Effectively
- Insert thermometer horizontally into thickest part of poultry slices
- Opt for a digital model like ThermoPro (±0.5°F accuracy)
- Check multiple spots on larger slices to avoid cold spots
Wait until the needle stops moving before removing from heat. If the pan is crowded, check each piece individually.
Visual Cues for Doneness
Clear juices and opaque flesh can hint at doneness, but they’re not always right. Always check with a thermometer. Overcooked slices will look grayish-white and dry.
Tip: Cut thicker slices into smaller portions to ensure even heating and accurate readings.
Pan-Frying Thin Sliced Chicken Breast: Time and Technique
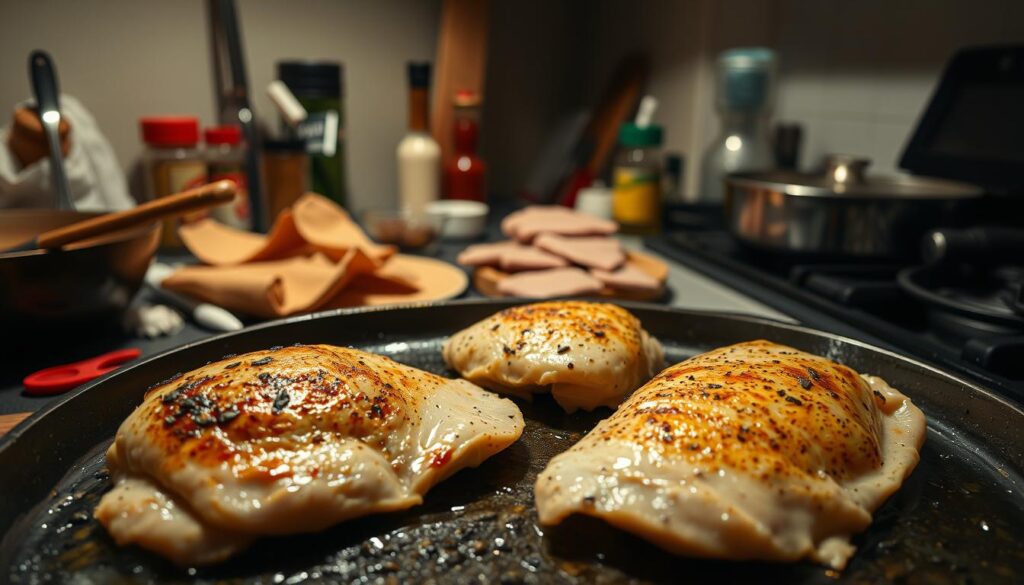
Learning to pan-fry keeps your sliced poultry breast juicy and golden. Start by picking the right tools and ingredients for the best results.
Recommended Oil and Pan Types
- Choose oils with a high smoke point like avocado, grapeseed, or extra virgin olive oil.
- Opt for a heavy skillet, such as stainless steel or cast iron, for even heat.
Step-by-Step Pan-Frying Method
- Heat oil in a skillet over medium-high until it starts shimmering.
- Put the chicken in and let it cook for 2-3 minutes to get a golden crust.
- Flip it over and cook until the inside reaches 165°F (74°C).
- Let it rest for 3 minutes before serving to keep the juices in.
Cooking Times for Different Thicknesses
| Thickness | Time per Side | Total Time |
|---|---|---|
| 1/4 inch | 2-3 mins | 4-6 mins total |
| 1/2 inch | 3-4 mins | 6-8 mins total |
Pro tip: Don’t overcrowd the pan to avoid steaming. Use tongs to flip for a better crust. Serve right away or store in an airtight container for up to 3 days.
Baking Thin Chicken Fillets in the Oven
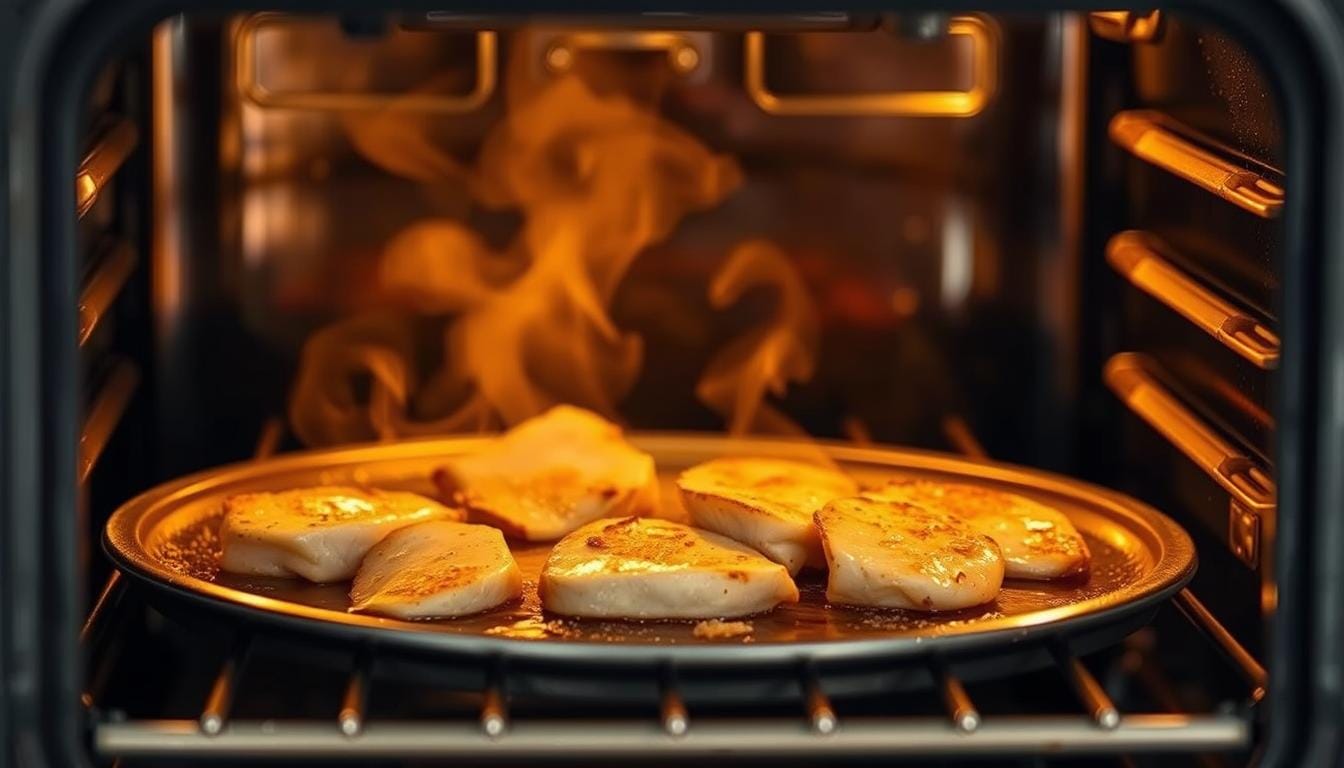
Baking is a simple way to get tender chicken cutlets. First, heat your oven to 400–450°F (205–230°C). Use parchment paper or aluminum foil on a baking sheet for easy cleanup.
Brush the chicken with avocado oil and season it. Place the chicken pieces on the sheet, leaving space between them. This prevents them from steaming instead of browning.
Bake for 8–15 minutes, depending on the chicken’s thickness. Thinner cuts, about 1/4 inch, bake in 8–10 minutes at 425°F. Thicker pieces, around 1/2 inch, take 10–12 minutes at 400°F. Always check the chicken’s internal temperature with a thermometer. It should reach 165°F (74°C).
Let the chicken rest for 5 minutes before slicing. This helps keep the juices inside.
- Prep tip: Brine chicken in ¼ cup salt dissolved in 4 cups lukewarm water for 15 minutes before baking for extra tenderness.
- Cooking hack: Cover with foil for the first 10 minutes, then remove to brown the surface.
- Storage note: Refrigerate leftovers in an airtight container up to 4 days.
To get tender chicken cutlets with golden edges, flip them halfway through baking. A 4-ounce serving has 261 calories, 24g protein, and 18g fat. Serve with veggies or grains for a quick meal.
Make sure not to overcrowd the pan. This helps the chicken get crispy edges. After baking, let the chicken rest to keep the juices inside.
Grilling Chicken Cutlets to Perfection
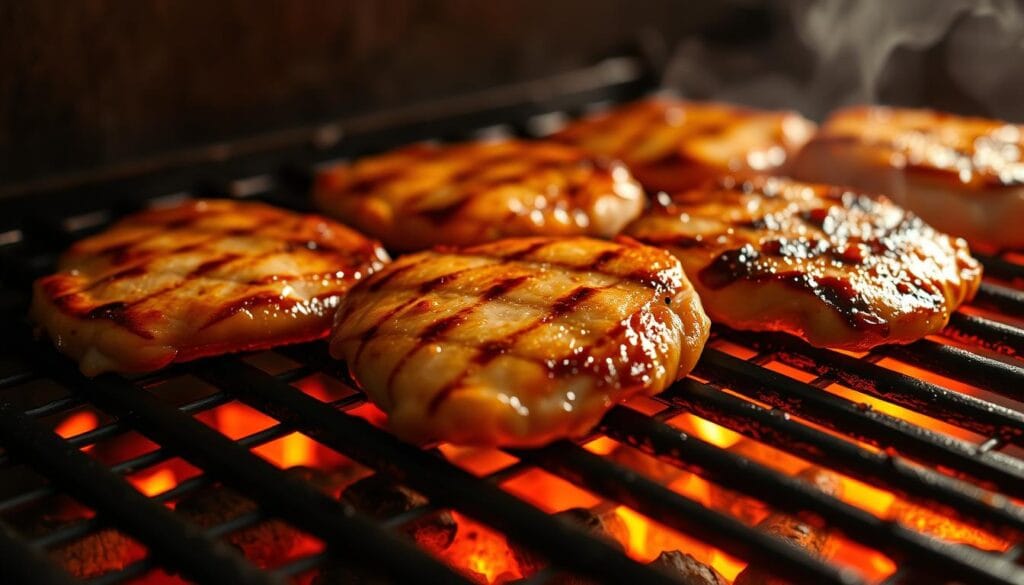
Mastering the grill is key to keeping your chicken cutlets juicy. Their thin slices cook quickly, soaking up smoky flavors. A well-oiled grill and precise timing make them a hit with your family.

75% of U.S. households choose grilled chicken cutlets over burgers or steak for weeknight dinners, citing their versatility and quick prep time.
Direct vs. Indirect Heat Methods
For chicken cutlets, use direct heat. Place them over medium-high flames (400-450°F) for even searing. Flip only once when edges curl and edges turn white.
Indirect heat is better for thicker cuts. But thin slices need direct contact for 2-4 minutes per side. Always check the internal temp reaches 165°F with a thermometer.
Timing for Gas vs. Charcoal Grills
- Gas: Preheat to 400°F. Cook 2-3 minutes per side for 6-8 oz cutlets. Close lid for faster cooking.
- Charcoal: Let coals ash white. Cook 2-4 minutes per side, adjusting coals distance if flames flare up.
Preventing Sticking and Dryness
Brush cutlets with oil before grilling. Place them on preheated, oiled grates. Flip with tongs once, avoiding poking.
Let them rest 5-10 minutes after cooking. For new grills, spray grates with cooking spray first. Marinate cutlets 30 minutes to add flavor without drying.
Air Fryer Cooking Times for Tender Chicken Cutlets
Learn how to make tender chicken cutlets crispy and juicy in the air fryer. This method cooks thin cuts evenly without extra fat. You’ll get restaurant-quality results in under 15 minutes.
Temperature Settings for Air Fryers
Cook tender chicken cutlets at 375°F to 400°F. For thicker cuts, use 375°F. For thinner slices, 400°F is best. Always check the chicken’s internal temperature with a thermometer to ensure it reaches 165°F.
Batch Cooking Considerations
- Arrange cutlets in a single layer to prevent steam buildup
- Cook 2-4 portions at once depending on fryer size
- Reheat first batches in a 250°F oven while finishing later rounds
Oil Spray vs. No Oil Options
| Option | Browning | Crispy Exterior |
|---|---|---|
| Oil Spray | Golden-brown within 8-10 mins | Enhanced crunch |
| No Oil | Light browning | Moister texture |
For less oil, lightly spray cutlets before cooking. Panko breadcrumbs add crunch without extra fat.
Cooking Chart
| Cutlet Thickness | Temp (°F) | Time |
|---|---|---|
| ¼-inch | 400 | 8-10 mins |
| ½-inch | 375 | 10-12 mins |
Flip cutlets halfway for even cooking. Let them rest 2-3 minutes before serving. This helps keep the juices inside.
Quick Poaching Methods for Moist Chicken Schnitzel
Poaching is a gentle way to cook chicken schnitzel that keeps it tender and juicy. It’s different from frying or baking because it uses simmered liquid. This method adds flavor while keeping the chicken moist. It’s great for meal prep, as it can be used in salads, wraps, or even crispy breading dishes later.
- Use broth, wine, or herb-infused water as your poaching liquid.
- Add garlic, thyme, bay leaves, or lemon slices for extra flavor.
- Simmer liquid at 165–180°F (74–82°C)—never boil—to avoid rubbery.
- Heat liquid with aromatics until simmering gently.
- Submerge chicken schnitzel slices and cook 5–8 minutes.
- Check internal temperature reaches 165°F (74°C) with a thermometer.
“The liquid doesn’t just cook—it becomes a free base for sauces or soups!”
After poaching, chicken schnitzel stays moist when chilled or reheated. Use leftovers in pasta dishes or as a quick sandwich filler. For extra flavor, toss with olive oil and herbs before serving.
Pair this method with breading steps from section 5 for a two-step approach: poach first, then pan-fry for a crispy exterior. Store poaching liquid in the fridge to use in gravies or stocks.
Common Mistakes When Cooking Thin Sliced Chicken Breast
Mastering thin sliced chicken breast means avoiding common mistakes. These errors can make the chicken dry or tasteless. Here are some tips to avoid these problems.

Overcooking Issues and Solutions
Overcooking makes chicken breast tough and rubbery. Here are some fixes:
- Use a thermometer: Remove chicken when it reaches 145°F to 155°F. Carryover heat will bring it to 165°F safely.
- Avoid cold pans: Heat your skillet first to prevent steaming and dryness.
- Pound uneven cuts to 1/2-inch thickness for even cooking.
Seasoning Timing and Techniques
Timing is key for flavor. Salt the chicken breast 20-30 minutes before cooking. This helps draw out moisture. For herbs, wait until after cooking to keep flavors fresh. Always season both sides for balanced seasoning.
Rest Time Importance
Skipping rest time causes juices to spill out. Here’s what to do:
| Action | Why It Matters |
|---|---|
| Rest 3–5 minutes | Let juices redistribute evenly. |
| Cover with foil | Maintains warmth without steaming. |
Skipping this step makes thin sliced chicken breast dry and crumbly. Let it rest before slicing.
Flavorful Marinades to Enhance Your Chicken Dishes
Marinades make thinly sliced chicken taste amazing. These thin cuts soak up flavors fast, often in just 15 minutes. Here’s how to choose the best marinade for your meal.
- Mediterranean: Mix lemon juice, olive oil, garlic, oregano, and salt. Marinate for 30 minutes to 2 hours.
- Asian-Inspired: Combine soy sauce, ginger, honey, sesame oil, and garlic. Let sit 1 hour to overnight.
- Latin Twist: Lime juice, cilantro, cumin, chili powder, and olive oil. Marinate 20 minutes to 4 hours.
- Herb Blend: Fresh rosemary, thyme, white wine, Dijon mustard, and salt. Use 15 minutes to 1 hour.
| Nutrition Facts (per serving) |
|---|
| Calories: 199 |
| Protein: 24g |
| Carbs: 2g |
| Total Fat: 10g |
For the best taste, keep thinly sliced chicken in a sealed bag in the fridge. Marinate for at least 30 minutes but no more than 24 hours. You can freeze it for up to 3 months. When you’re ready, bake at 425°F or grill for 4-5 minutes on each side. You’ll have a quick, delicious meal every time.
Storing and Reheating Cooked Chicken Safely
Storing and reheating chicken safely is key. Here’s how to keep your chicken fresh and safe:
Refrigeration Guidelines
- Store cooked chicken in airtight containers within 2 hours of cooking.
- Keep it in the fridge at 40°F or below for up to 3-5 days.
- Check for spoilage signs like off smells or slimy textures before eating.
Freezing Techniques
- Wrap poultry slices tightly in plastic wrap or foil, then place in freezer-safe bags.
- Label with dates for tracking freshness—store up to 2-3 months.
- For best results, lay flat to save space and ensure even thawing.
Best Reheating Methods
- Microwave: Use 50% power in 30-second bursts, covered with a damp cloth. Check internal temp reaches 165°F.
- Oven: Bake at 275°F on a covered dish until hot throughout.
- Stovetop: Add liquid like broth to a pan, cover, and heat until steaming hot.
- Air Fryer: Preheat to 375°F, cook 4-5 minutes until safe.
Never reheat chicken more than once. Discard leftovers older than 3-5 days. Always use a thermometer to confirm safe temperatures.
Conclusion: Mastering the Art of Cooking Thin Chicken Breast
Now that you’ve learned how to cook sliced poultry breast perfectly, remember a few key things. Timing, temperature, and technique are crucial. Whether you’re pan-frying, baking, or air frying, use quick, even heat to keep the meat juicy.
Thin slices cook quickly, usually under 10 minutes. But don’t rush. Letting the chicken rest for 3-5 minutes after cooking helps keep the juices in. Add flavors like garlic, soy sauce, or herbs to make it even better.
Try different flavors to make your dish stand out. Italian herbs can make a classic parmesan dish, while a soy-ginger glaze adds an Asian twist. With 26g of protein per 3-ounce serving, sliced poultry breast is perfect for any meal. Store leftovers in the fridge for up to 4 days or freeze for 3 months.
With these tips, you can make thin chicken a staple in your kitchen. Adjust cooking times based on the chicken’s thickness. Whether grilling or using an air fryer, keep the heat consistent and let it rest properly. Share your favorite cooking methods or ask questions in the comments to help others. With practice, every slice can become a new and tasty dish.

